Root rot doesn’t start as a mystery—it starts when roots sit in wet, low-oxygen soil long enough for fungi and bacteria to take over. If your plant is wilting despite damp soil, dropping leaves, or smelling “off,” you’re probably already in rescue mode. This guide is for indoor plant owners who want a practical Root Rot Treatment plan that actually stops the spread. You’ll learn what causes rot, how to confirm it by checking the roots, and the exact steps to clean up the damage and reset your soil, pot, and watering routine. Expect a straightforward, step-by-step approach you can follow the same day you spot the problem.
Table of Contents
In This Article
What Causes Root Rot in Indoor Plants?
Understanding what causes root rot helps you prevent it and choose the best root rot treatment for your situation. Most cases of root rot come from a few common mistakes that are easy to fix once you know what to look for.
Overwatering is the number one cause of root rot in indoor plants. Many plant lovers think they’re being helpful by giving their plants lots of water. But most houseplants prefer their soil to dry out a bit between waterings. When soil stays constantly wet, roots can’t get the oxygen they need. This weakness makes them easy targets for root rot fungi.
Poor drainage goes hand-in-hand with overwatering problems. Plants sitting in pots without drainage holes or in heavy, clay-like soil that doesn’t drain well are at high risk. Water pools around the roots instead of flowing away, creating those dangerous wet conditions that lead to rot.
Fungal and bacterial infections are the actual culprits that attack weakened roots. Common fungi like Pythium, Phytophthora, and Rhizoctonia love wet, warm conditions. These microscopic organisms spread quickly through infected soil and can jump from plant to plant if you’re not careful.
Contaminated pots or soil can introduce root rot problems to healthy plants. Using old soil from a plant that died from root rot, or not cleaning pots between uses, can spread these harmful organisms. Even some store-bought soils can harbor fungi if they haven’t been stored properly.
Temperature also plays a role. Warm, humid conditions speed up fungal growth. This is why root rot often gets worse in summer or heated homes during winter. Poor air circulation around plants makes the problem even worse by keeping humidity high around the soil surface.
Root Rot Treatment: 7 Proven Ways to Stop the Spread
When you discover root rot in your indoor plant, quick action makes all the difference. These seven root rot treatment methods work best when used together as a complete rescue plan. Don’t skip steps – each one plays an important role in giving your plant the best chance to recover.
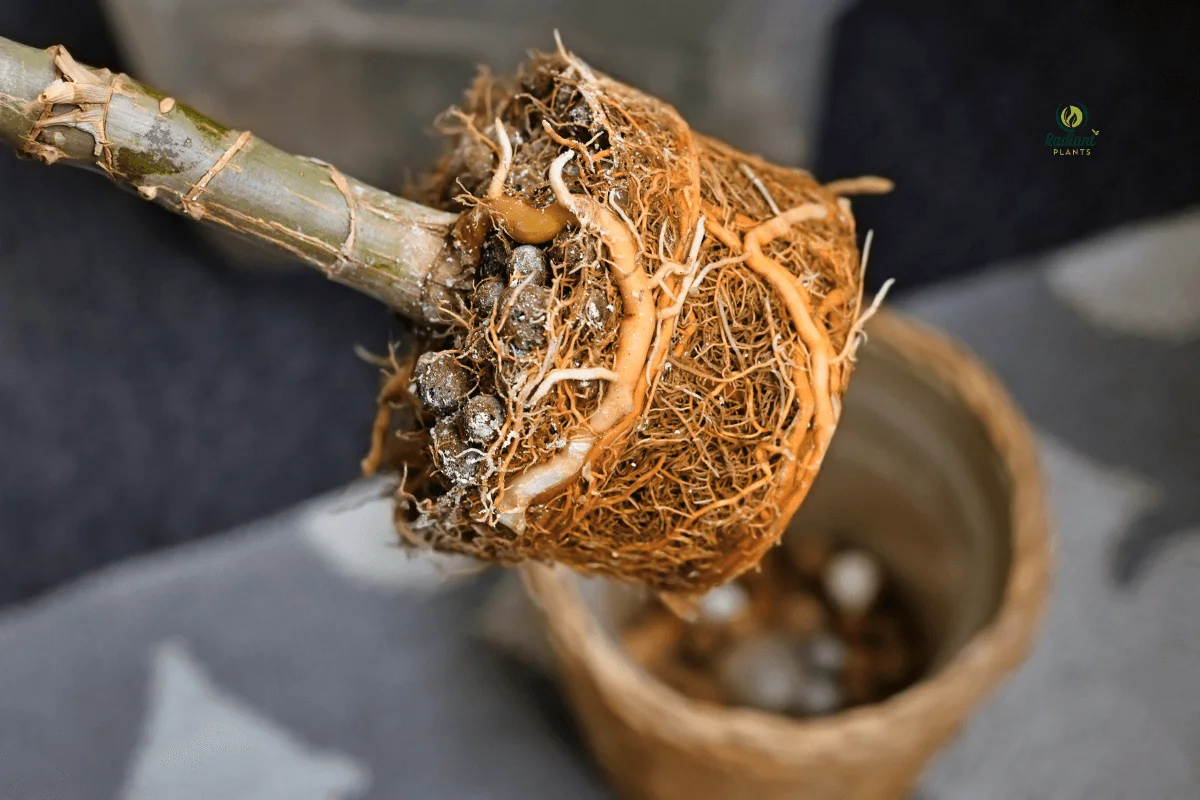
1. Remove the Plant and Inspect the Roots
The first step in any root rot treatment plan is getting a good look at what you’re dealing with. This means carefully taking your plant out of its pot so you can examine the root system.
Start by gently tipping the pot upside down while supporting the plant’s stem. Tap the bottom of the pot or squeeze the sides if it’s flexible. The plant should slide out with the soil intact around the roots. If the plant is stuck, run a knife around the inside edge of the pot to loosen it.
Once the plant is out, gently shake or brush away loose soil so you can see the roots. Don’t worry about removing every bit of soil right now – you just need to see enough to assess the damage.
Healthy roots should be white or light tan and feel firm when you touch them. They should have a fresh, earthy smell. Rotted roots look completely different. They’ll be brown, black, or even gray. When you touch them, they feel mushy or slimy. The worst part is the smell – rotted roots have a distinctive sour, rotten odor that’s hard to miss.
Take note of how much of the root system looks healthy versus rotted. If more than half the roots are rotted, the plant will have a harder time recovering. But don’t give up! Plants can be surprisingly resilient when given proper root rot treatment.
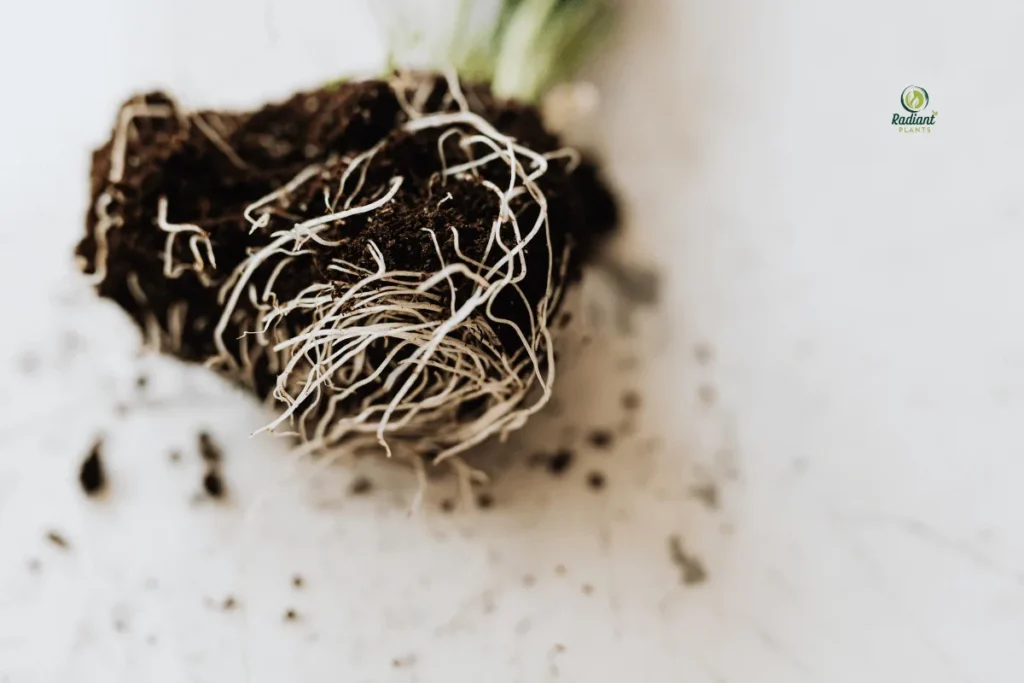
2. Trim Away Affected Roots
Removing diseased roots is a crucial part of root rot treatment. This stops the rot from spreading and gives healthy roots room to grow. You’ll need clean, sharp tools for this job to avoid spreading infection.
Use clean scissors, pruning shears, or a sharp knife. Before you start cutting, wipe your tools with rubbing alcohol or a 10% bleach solution. This kills any fungi or bacteria that might be on the tools.
Cut away all roots that look brown, black, or feel soft and mushy. Make your cuts on healthy, white root tissue – don’t leave any questionable areas behind. It’s better to be aggressive with your trimming than to leave infected roots that will continue spreading the rot.
If you find that most or all of the roots are rotted, cut them all away. This sounds scary, but many plants can regrow their entire root system if the stem and crown (where roots meet the stem) are still healthy. Cut right back to where you see healthy, firm tissue.
As you work, keep dipping your cutting tools in alcohol between cuts. This prevents you from spreading rot from one area to another. Also, don’t touch healthy roots with the same hands that touched rotted ones without washing first.
Put all the rotted roots and infected soil in a plastic bag and throw it away. Don’t compost this material – the fungi can survive and spread to other plants later.
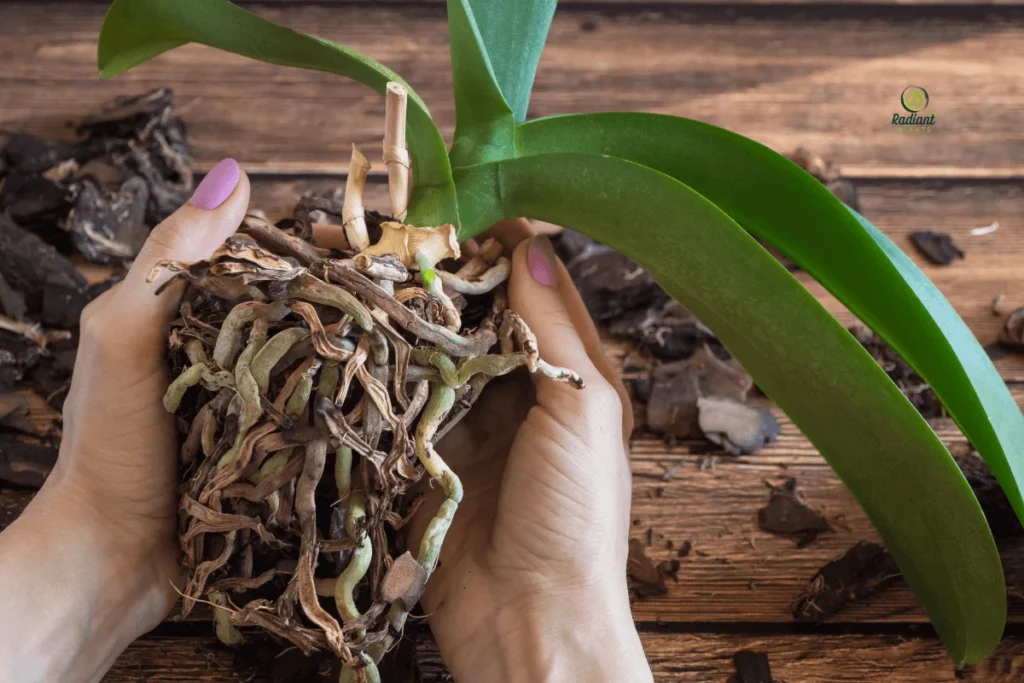
3. Treat with a Fungicide or Natural Solution
After removing infected roots, treating the remaining healthy tissue helps prevent root rot treatment failures. You have several options for killing lingering fungi and bacteria.
Commercial fungicides work well for serious infections. Look for products containing copper, thiophanate-methyl, or propamocarb. Follow the label directions exactly – more is not better with fungicides. These products can harm plants if used too strongly.
Hydrogen peroxide is a popular natural alternative that many plant enthusiasts swear by. Mix one part 3% hydrogen peroxide with two parts water. Soak the cleaned roots in this solution for 10-15 minutes. The hydrogen peroxide bubbles as it kills fungi and bacteria. It also adds extra oxygen to help with healing.
Cinnamon powder works as a gentle, natural fungicide. Dust the cut root ends with ground cinnamon before repotting. Cinnamon contains compounds that naturally fight fungi. It’s especially good for sensitive plants that might not handle stronger treatments well.
Neem oil is another natural option. Mix according to package directions and use it as a root dip. Neem oil fights fungi while also helping roots resist future infections.
Whichever treatment you choose, make sure to treat all exposed root surfaces, especially the fresh cuts you made when trimming. Let treated roots air-dry for about 30 minutes before repotting. This gives the treatment time to work and helps cut surfaces start healing.
4. Repot in Fresh, Well-Draining Soil
Choosing the right soil is critical for successful root rot treatment. Never reuse the old soil – it’s full of fungi and bacteria that will just reinfect your plant. Always start with a completely fresh potting mix.
The best soil for preventing future root rot drains quickly while still holding some moisture. A good basic mix contains equal parts regular potting soil, perlite, and bark chips or coconut coir. The perlite and bark create air pockets that let water drain away from roots.
For most houseplants, look for potting mixes labeled as “well-draining” or “cactus/succulent mix.” These typically contain more perlite and sand to improve drainage. You can also make your own by adding extra perlite to regular potting soil.
Clean your pot thoroughly before adding new soil. Wash it with hot, soapy water, then rinse with a diluted bleach solution (1 part bleach to 9 parts water). Let it air dry completely. This kills any fungi hiding in the pot.
When repotting, place a layer of fresh soil in the bottom of the pot. Position your plant so it sits at the same depth it was before – don’t bury it deeper. Fill around the roots with fresh soil, gently pressing to eliminate air pockets but not packing too tightly.
Choose a pot that’s only slightly larger than the root ball. Oversized pots hold too much soil and water, which can lead to the same soggy conditions that caused the original root rot problem.
Soil Component | Purpose | Ratio |
|---|---|---|
Potting soil | Base nutrients and structure | 1 part |
Perlite | Drainage and aeration | 1 part |
Bark chips or coir | Water retention and drainage | 1 part |
Optional: Sand | Extra drainage for succulents | 10-20% |
5. Improve Drainage in Pots
Poor drainage is often the root cause behind root rot problems, so improving it is essential for long-term root rot treatment success. Even the best soil won’t help if water has nowhere to go.
Drainage holes are necessary. If your favorite pot doesn’t have holes, drill some using a masonry bit for ceramic pots or a regular drill bit for plastic. Aim for several holes about 1/4 to 1/2 inch wide. More small holes work better than one large hole.
Add a drainage layer at the bottom of pots to keep soil from blocking the holes. Use materials like small gravel, broken pottery pieces, or large bark chunks. This layer only needs to be about an inch thick – too much reduces root space.
Pot materials make a difference, too. Terracotta and unglazed ceramic pots breathe better than plastic ones. They allow some moisture to evaporate through the pot walls, which helps prevent soggy soil. However, plastic pots work fine if they have good drainage holes.
Consider using pot feet or saucers with gaps to lift pots off surfaces. This improves air circulation under the pot and prevents water from pooling around the drainage holes. Empty saucers regularly – never let plants sit in standing water.
For plants that need extra drainage help, try double potting. Keep your plant in a well-draining inner pot, then place that inside a decorative outer pot. This gives you drainage control while keeping your décor choices open.
6. Adjust Your Watering Routine
Changing how and when you water is probably the most important long-term root rot treatment strategy. Most people water too often and don’t realize it until problems develop.
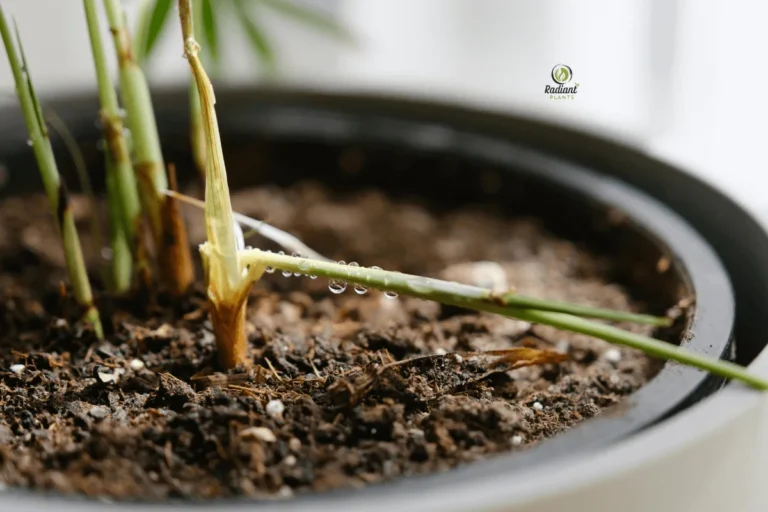
Check soil moisture before every watering. Stick your finger about an inch down into the soil. If it feels moist, wait another day or two before watering. Most houseplants prefer their soil to dry out partially between waterings.
Water deeply but less frequently rather than giving small amounts often. When you do water, add enough so that some water runs out of the drainage holes. This ensures the entire root zone gets moisture and helps flush out any salt buildup from fertilizers.
Seasonal adjustments are important for root rot treatment success. Plants use less water in winter when growth slows down, and humidity is often higher indoors. You might water every 2-3 weeks in winter versus weekly in summer. Pay attention to your specific plants and adjust accordingly.
Time of day matters too. Water in the morning when possible. This gives plants all day to use the water and allows soil surfaces to dry before cooler evening temperatures. Watering at night keeps soil moist longer, which can encourage fungal growth.
Use room-temperature water when possible. Very cold water can shock roots, while hot water can damage them. Let tap water sit out overnight to reach room temperature and allow chlorine to evaporate.
Season | Watering Frequency | Signs to Watch |
|---|---|---|
Spring | Every 5-7 days | Active new growth |
Summer | Every 3-5 days | Faster soil drying |
Fall | Every 7-10 days | Slowing growth |
Winter | Every 10-14 days | Very slow growth |
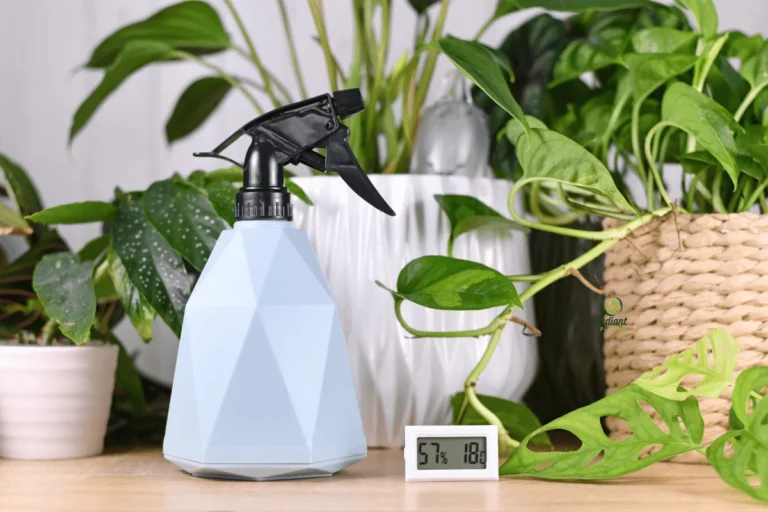
7. Boost Air Circulation and Light Exposure
Good air circulation and proper lighting support root rot treatment by creating conditions that fungi hate. Stagnant air and dim conditions encourage the same organisms that cause root rot in the first place.
Air circulation helps soil dry at a healthy rate and prevents humid air from sitting around plants. Place a small fan nearby to create gentle air movement, or simply ensure plants aren’t crowded together in corners where air doesn’t move much.
Open windows when the weather permits to bring in fresh air. This is especially helpful in winter when homes are sealed up, and humidity builds up around plants. Just be careful about cold drafts that can shock tropical houseplants.
Light exposure affects how quickly plants use water, which impacts soil moisture levels. Plants in bright light use water faster and prefer more frequent watering. Plants in low light use less water and need longer periods between waterings.
Move recovering plants to bright, indirect light during root rot treatment. Direct sun might stress a plant that’s already weakened, but good light helps speed recovery. Consider using grow lights if your home doesn’t have bright enough natural light.
Avoid placing plants in bathrooms or other naturally humid areas while they’re recovering from root rot. Save these spots for plants that are completely healthy and can handle the extra moisture.
Position plants where you’ll see them daily. This makes it easier to spot early signs of problems and adjust care as needed. Plants tucked away in corners often get forgotten until problems are serious.
Root Rot 101: How to Spot, Treat, and PREVENT Root Rot!
How to Prevent Root Rot in the Future
Once you’ve completed root rot treatment on your plant, prevention becomes your new focus. The good news is that preventing root rot is much easier than treating it, and it mostly comes down to developing good plant care habits.
Monitor your watering frequency closely, especially as seasons change. Keep a simple watering journal if you’re prone to forgetting when you last watered each plant. Note the date, how much water you gave, and how the soil felt before watering. This helps you learn each plant’s individual needs.
Regular root checks can catch problems early when they’re easier to fix. Every few months, gently lift plants and peek at the roots near drainage holes. Healthy roots should still be light-colored and firm. If you see any dark or mushy roots, take action immediately.
Use quality potting soil and replace it annually for actively growing plants. Fresh soil drains better and has fewer fungal spores than old, broken-down soil. When repotting, always choose pots with drainage holes and inspect plants for any signs of root problems.
Seasonal care adjustments prevent many root rot cases. Reduce watering frequency in fall and winter when plants aren’t actively growing. Increase humidity around plants during dry winter months, but avoid getting the soil wet in the process.
Quarantine new plants for a few weeks before placing them near your established collection. This gives you time to observe their health and adjust their care without risking infection of other plants if they do have problems.
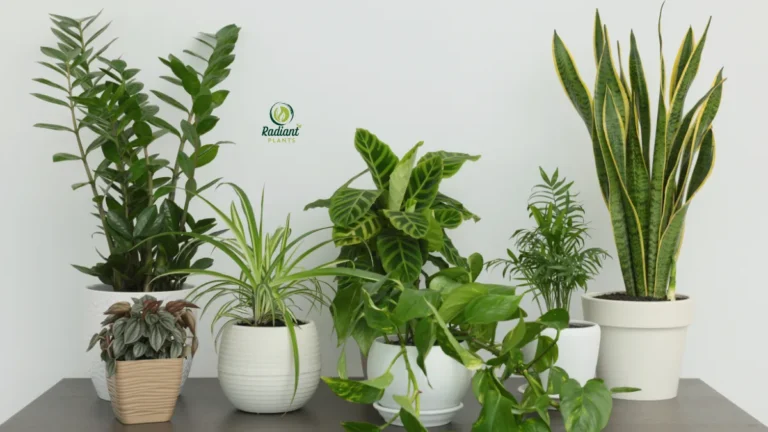
Best Indoor Plants Less Prone to Root Rot

Some plants are naturally more resistant to root rot, making them excellent choices for people who’ve struggled with this problem or are just learning about root rot treatment. These hardy plants tolerate occasional watering mistakes and recover quickly from minor root issues.
Snake Plant (Sansevieria) tops the list for root rot resistance. These architectural plants store water in their thick leaves and can go weeks without watering. They prefer very well-draining soil and perform better when slightly neglected. Water only when the soil is completely dry, usually every 2-3 weeks.
ZZ Plant (Zamioculcas zamiifolia) is nearly indestructible when it comes to water issues. The glossy leaves and stems store water, allowing the plant to survive extended dry periods. ZZ plants are excellent for beginners because they clearly show when they need water – the leaves start to wrinkle slightly.
Pothos varieties are very forgiving and quick to show signs of overwatering before serious root rot develops. Their leaves will droop dramatically when the soil is too wet, giving you an early warning system. They also root easily in water, so you can propagate new plants if the original develops problems.
Succulents like jade plants, echeveria, and aloe are naturally adapted to dry conditions and rarely develop root rot when planted in appropriate soil. Use cactus mix and water only when the soil is bone dry. Most succulents prefer to be watered deeply, then left alone for weeks.
Plant | Watering Need | Soil Type | Root Rot Resistance |
|---|---|---|---|
Very low | Well-draining | Excellent | |
ZZ Plant | Very low | Any well-draining | Excellent |
Pothos | Low to moderate | Regular potting mix | Very good |
Very low | Cactus mix | Excellent | |
Moderate | Well-draining | Good |
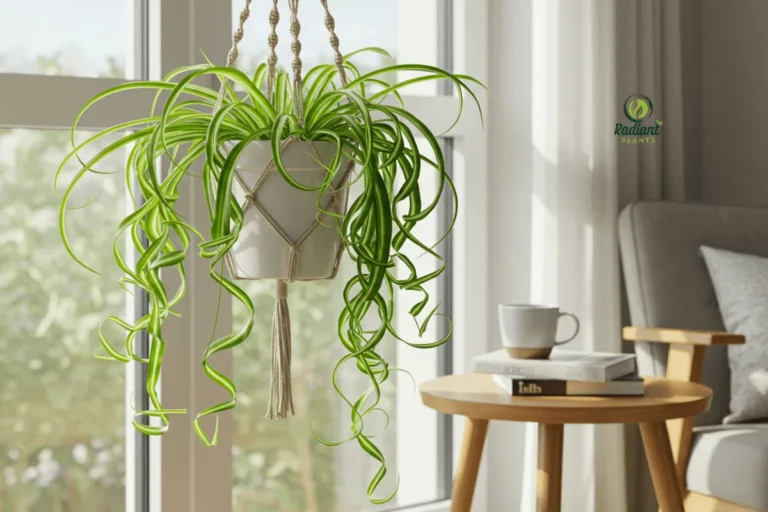
Spider Plants are also quite tolerant of watering variations and grow quickly enough to outpace minor root problems. They produce baby plants that you can use as backups if the mother plant ever develops issues.
These plants make great choices while you’re learning proper watering techniques or recovering confidence after dealing with root rot treatment. They’re much more likely to forgive mistakes and thrive with basic care.
FAQs About Root Rot Treatment
Can I reuse soil from a plant with root rot?
No, never reuse soil from a plant that had root rot. The soil contains fungi and bacteria that caused the original infection, and these organisms can survive in the soil for months or even years. Even if the soil looks clean, microscopic spores are still present and will likely infect your next plant. Always throw away infected soil in the garbage – don’t compost it either, as home compost piles don’t get hot enough to kill root rot fungi. For successful root rot treatment, always start with completely fresh potting soil.
Is root rot contagious to other indoor plants?
Root rot itself doesn’t jump from plant to plant through the air, but the fungi that cause it can spread. The biggest risk comes from using contaminated tools, pots, or your hands to touch healthy plants after handling infected ones. Water splashing from one pot to another can also carry fungal spores. To prevent the spread of root rot, always wash your hands and clean your tools with rubbing alcohol between plants. Keep the infected plant separated from healthy ones until treatment is complete and the plant shows signs of recovery.
How fast can plants recover after treatment?
Recovery time depends on how much healthy root system remains after root rot treatment and the type of plant you’re treating. Plants with some healthy roots often show improvement within 2-4 weeks – you’ll see new growth or notice that leaves stop yellowing and dropping. Plants that lost most of their roots need longer to regrow their root system, sometimes taking 2-3 months to show significant improvement. Fast-growing plants like pothos recover more quickly than slow growers like snake plants. Be patient and maintain proper watering during recovery – many plants that look hopeless can make a full comeback with time.
Root rot is fixable when you move fast and focus on the source: damaged roots trapped in soggy conditions. The main takeaway is simple—remove the plant, cut away what’s unhealthy, clean up the environment, and reset with fresh, well-draining soil and better drainage so the problem can’t keep spreading. After that, consistency matters more than intensity: water based on soil dryness, not routine. If you want to avoid repeat episodes, check out a related guide on overwatering warning signs and drainage basics to keep future care stress-free.
Thanks for sharing. I read many of your blog posts, cool, your blog is very good.